
One of the essential components of digital scale systems is load cells. But do you actually know what load cells are? If not, you’ve come to the right page. You would know what’s a load cell, its types, and how to check the load cell with multimeter and more.
If you’re a technician, you need to know what a multimeter is. A multimeter or digital multimeter (DMM) is a measurement device that allows you to read voltage, resistance, and continuity of electrical components. Also, a multimeter gives you information about the problem of a wire or fuse. In this article, I’ll talk about using a multimeter to check a load cell.
But you’ll know that later. Let’s first talk about the load cell.
What is a Load Cell?
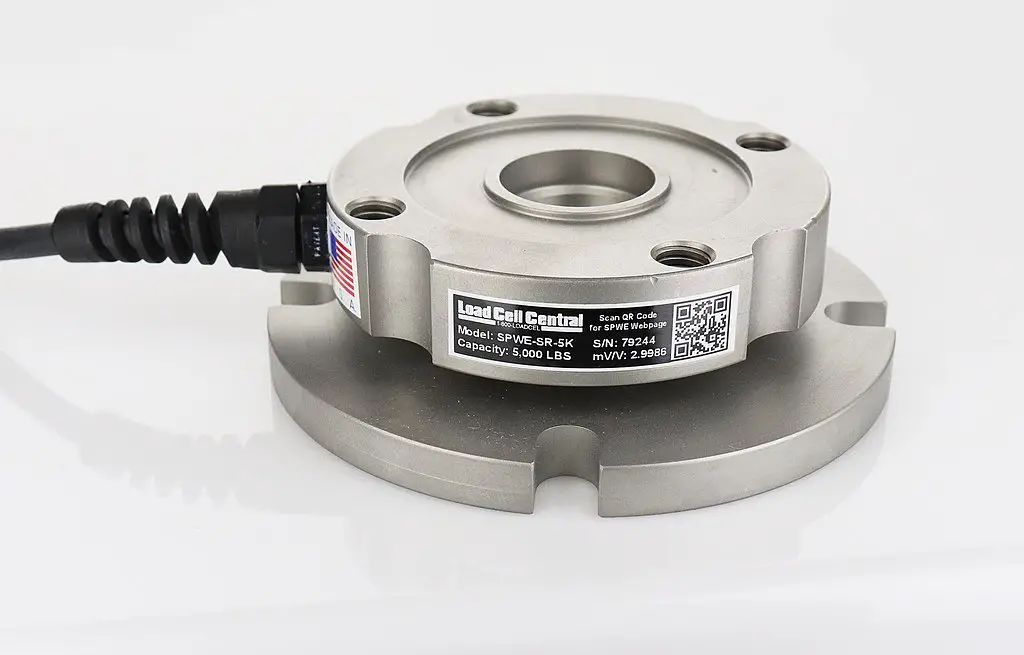
A load cell is a transducer or sensor that converts a force that acts on it into an electronic signal. We can describe this signal as current change, voltage change, or frequency change. The signal depends on the load cell type and the circuitry you’re using. Signals from a load cell are converted by a digital indicator to numeric values that you can read.
Types of Load Cells
Resistive Load Cells
These load cell types work on the piezo-resistivity principle. For example, the load cell changes resistance when stress or force is applied to the cell. The change in resistance results to an output voltage change once the input voltage is used.
Capacitive Load Cells
In these load cells, the change of the capacitance principle is applied. (The principle means that a system has the ability to hold a specific charge If voltage is used to it.) Let’s take parallel plate capacitors as an example.
In these capacitors, capacitance is directly proportional to the plates and dielectric between plates. Also, the capacitors are inversely proportional between the plates.
A load cell can give an inaccurate scale reading if it’s affected by corrosion or partially damaged. When this happens, it’s best that you replace or repair the load cell.
Here are easy to follow steps on how to check load cells with a multimeter and find out if it’s a bad cell or not.
- Inspect and check if there are signs of deformation in the load cell. If the load cells are deformed, call an expert technician right away to repair it. The technician might recommend that you replace the load cell if a replacement is a solution.
- Next, you connect the load cell into the digital indicator. In this step, ensure that the terminals are connected properly to the cell wires. Note: Remove any moisture or corrosion (If any) from the connectors before you do the test.
- Turn the indicator on. Wait for a few seconds until the readings are stabilized. Then, you can press the Zero key to make a 0 reading.
- Now, you would set the multimeter to a 30VDC or 20 range. You can read the voltages among the four load cell connections. Take note: Don’t check the shield connection because it’s not connected to the cell circuit.
- The red or black wires would show a reading of 8.000VDC. Meanwhile, the red or white wires and the red and green wires would give you a reading of 4.000VDC. The green or white wires would show you a reading of 0.000VDC.
- Set the multimeter to the MV range. The green or white wires will have a signal if the cell doesn’t have a load. But the wires show a reading 24.00 mV at full capacity.
If you see different readings other than the once I’ve mentioned, call a licensed technician right away. Your load cell needs repair and replacement.
But what If the load cell is okay, and you want to measure the cell’s resistance?
Using A Multimeter in Measuring Load Cells Resistance
Follow the steps below and see the reading on the display of the multimeter:
- Disconnect the load cell from the instrument. Then, check if there’s moisture in the load cell’s junction box. (The moisture is often caused by water infiltration and condensation.) If yes, clean the system immediately, or you can replace it.
- Check the value of the positive and negative signal wire. The value should be the same as the data you see on the cell datasheet.
- The positive and negative excitation wire should be similar to the data on the cell sheet.
- You would see that the value between the cell wire and the shield should be higher than 20 mega ohms.
Using A Multimeter in Measuring Load Cells Voltage
If you want to measure the voltage of a load cell, here the following steps to follow:
- Take out cell you would test by lifting the container.
- The two wires’ excitation of the load cells should be plugged to the amplifier.
- Now, you measure the response signal of the positive and negative wires by connecting these to the multimeter directly.
- Last, you can apply load to the cell and check if there’s a signal increment.
Take note: Exercise safety precautions in checking the load cell with a multimeter. You might suffer a severe electrical shock if you’re not careful. The multimeter is an electrical device, so an electrical shock is possible. Even so, you need to be aware of it.
Final Thoughts…
A multimeter is a handy tool that lets you check if the load cell is damaged or not. So, make sure to check it regularly. Clean the outer part of the test meter to prevent dust and another hazardous element to damage it. If you’re not using it, store the unit in a safe and secure place.
Be responsible and cautious when you’re working with electrical components. Remember that safety is always a priority in using electrical devices or tools such as the multimeter. Follow the instructions mentioned in this article and ask tips from licensed technicians.
Experts can offer a big help to make your checking and troubleshooting successful. Don’t work alone if you’re a beginner in using a multimeter. Accidents or injuries might happen if there’s no expert to guide you.
Lastly, observe and don’t ignore warnings you might see on the test meter’s manual because these can keep you safe.
