
Jewelry, in most cases, can be quite pricey. Because of this, seeing them get destroyed is, without a doubt, one of the most hurting things that can happen.
However, if it does happen, all hope isn’t lost thanks to the soldering iron. This tool is often used in heating solder, which is a metal-based component that joins two or more elements of metal.
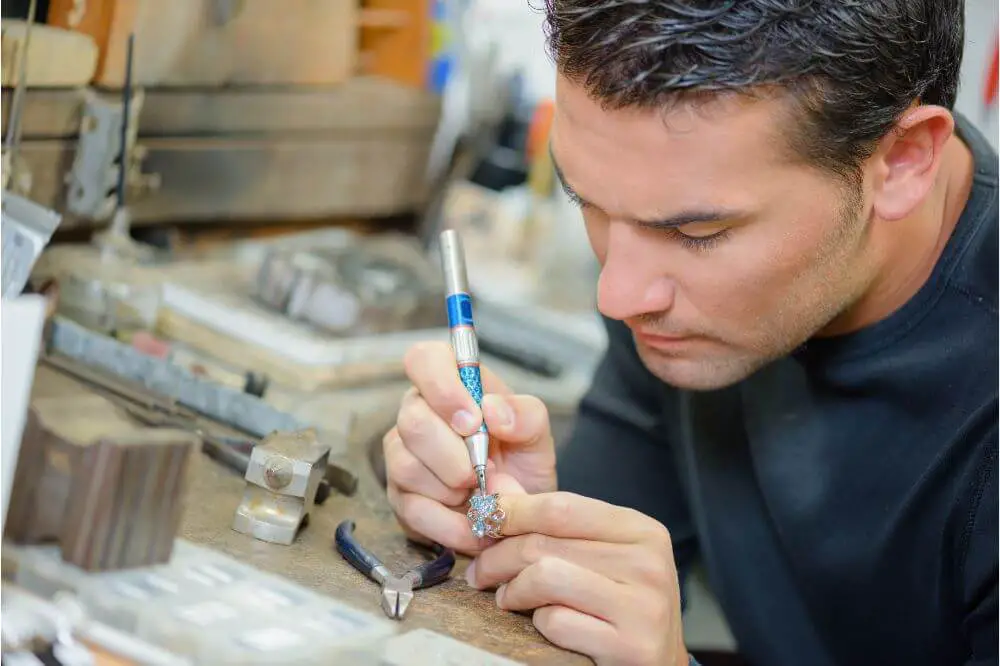
Therefore, you can use your soldering iron in your creative pursuits, including stained glass assembly, metalsmithing, and jewelry making. Using this tool, you get to complete different types of jewelry repairs, including repairing chain links, charms and bails, clasps and chains, as well as rings and settings. Let’s dive in on the steps you should follow when repairing your jewelry using a soldering iron.
Steps to Follow During the Repair of Jewelry
Step 1
Immerse the jewelry that needs to be soldered into a pickle – an acidic liquid used when cleaning metal before and after you’re done soldering. Leave your pieces of jewelry in the pickle for between 5 to 10 minutes. Consequently, take them out of the solution and meticulously dry them using a towel until you see they’re completely dry.
Step 2
Take the pieces of jewelry you’re looking to solder and attach them together. You might opt to use either strings, clamps, or clothespins to hold together these jewelry pieces. As you do this, try your best not to cover the surface applied with the solder.
Step 3
You should follow this up by applying a thin of flux – a material that assists in the flow and stick on the parts of jewelry where the solder melted. Using a paintbrush, carefully apply flux on all the areas where it’s needed.
Step 4
Connect your soldering iron to power and switch it on. Give it a few minutes for it to get heated up.
Step 5
Take your jewelry and place it in a suitable position where you can start soldering. After doing that, place the soldering iron’s tip between the two parts of the jewelry parts you want to connect together.
Step 6
Using your soldering iron, start meting the solder by positioning the tool’s tip against the solder. After doing this, you should start drawing the lines as desired by moving the solder along the joint between these two jewelry pieces if need be. You can also opt to melt a tiny section of your jewelry to link the two parts.
Step 7
After the solder has melted into position, you should lift your soldering iron since its work is done now. Subsequently, disconnect it from power and place it in a safe position to cool without putting anyone in harm’s way.
Step 8
Give the solder adequate time to harden and cool down, thereby ensuring the bond created is robust enough. This means your jewelry is as good as new now that the separate parts have been reattached.

Things You Must Know When Soldering Jewelry
Solder is a tiny piece of alloyed metal that gets melted to fuse together with other metal pieces. The point where these metals get fused is referred to as a joint. The metal that’s used as solder is usually has a lower melting point than the pieces of metal which are being fused.
There are three types of solder: easy, medium, and hard, with each of these having a different melting temperature. Easy solder melts at very low temperatures, medium melt at moderate temperatures, whereas the hard solder melts at high temperatures.
The numerous solder joints on jewelry need many kinds of solder. With that said, ensure never to remelt a joint that’s just been soldered as you’re soldering a different joint.
It’s vital to avoid this since the varied temperatures will prevent the reflowing of the solder joint. Therefore, you should use a harder solder on the first joint, a medium solder on the second joint, and an easy solder on the third joint.
You can also find easy, medium, and hard solder in silver and gold. The gold comes in different karats and is a lot costlier than the silver solder, especially for the greater karats. Furthermore, silver and gold are available in different flow temperatures, with the different melting points for the different silver solders being:
- 1270 degrees F for Easy-flo solder
- 1325 degrees F for easy solder
- 1390 degrees F for medium solder
- 1425 degrees F for hard solder
On the other hand, gold solders have a different melting point, and it’s also available in easy, medium, and hard solders. However, they usually are one or two karats lower than gold.
These varied flow temperatures are essential in guaranteeing it’s possible to carry out numerous soldering on a single piece without needing to solder the previous joints. Ideally, you should make the first joint with the hard solder, followed by medium solder and finally the easy solder.
You can get solder in paste, wire, or sheet. The paste solder is available in a syringe kind applicator and gets premixed with flux, while sheet solder comes already cut into many small pieces that spread all over the place as you’re cutting them. The wire solder is another option and is an excellent pick as it can be flattened o cut small pieces or a cutting one piece of the coil’s end.
Conclusion
Knowing how to repair jewelry is crucial if you don’t want to end up disposing of something which can be done with simple repairs. If you had no idea where to start when doing jewelry repairs, reading through this comprehensive guide will be beneficial.
With the information discussed above, you can now go ahead and use your soldering iron to repair a destroyed piece of jewelry you hold dear.
This is something that isn’t sophisticated and shouldn’t take much of your valuable time. Therefore, you shouldn’t have any reservations about whether you’ll manage to do this. Consequently, you’ll be able to ensure you don’t throw away the jewelry due to repairable damage, thereby not losing your hard-earned money.
