
Tinning is an important part of caring and maintaining a soldering iron. If you have never soldered before and want to make sure your device is well maintained, (of course!) then you’re on the right track. These easy and short instructions will help you out along the way. So, keep reading folks!
What is a Soldering Iron?
A hand tool generally used in binding metal components. A soldering iron consists of an insulated handle and a heated metal tip. Heat is used to soften the solder, thus, attaching two metals or other materials together to build a physical connection from the component to the wire, component to board, and component to component.
Our Top Recommendation: 5 High-Quality Soldering Irons
Why is Tinning Important?
When we say tinning, We’re talking about the process where the soldering iron tip is guaranteed to be oxidation-free as well as primed for use and accurate soldering. This ensures that it lives a happy and long life before you require a replacement. What tinning does is cover the soldering tip in flux and solder for improved protection.
Don’t you know that there are a number of things that make the lifespan of a soldering iron shorter? And, that includes proper use. Yes, you read it clear! It should be coated with a protective solder layer and always kept clear of impurities and soot. The soldering tips are said to be more prone to corrosion if the temperature it releases is hotter than usual. Tinning can help improve the heat conductivity of your iron and makes the soldering much quicker and easier.
How to Tin a Soldering Iron?
The iron tip is an essential part of the tool’s performance. The tip wears out over time and needs replacing in the long run. Fortunately, there are a few important steps for tin your soldering iron. The entire process won’t kill much of your time. Most importantly, you will see improved results in your soldering projects, extend the tool’s life, and save money in the end.
Here, we will discuss three different ways to tin the tip of your soldering iron:
1. Tinning with solder wire along with rosin-based flux
Flux is one crucial component of soldering, not to mention it helps to minimize the oxides that can potentially build up every time the hot materials you’re soldering are in contact with the air. When it comes to iron tip tinning, it does an excellent job of cleaning the oxidized tip and protecting it from oxidation so as to extend its lifespan.
You Might Like: Wireless Soldering Irons to Try Out
Grind the tip using a sandpaper. You only need to take a solder wire that has rosin base flux and cover it around the iron’s tip. Make sure your hands are not touching the ground tip. Pliers will keep it at the proper place as well as tighten the windings. Insert your prepared tip into the soldering iron. Heat it up to about 350 degrees Celsius. Wait for a minute or two to melt the solder. Get a sponge to clean the tinned tip and voila! Your soldering iron tip is now as shiny and good as new!
2. Tinning with a tip cleaner
Another very easy and simple method we have to assure your soldering iron maintains its peak performance during every soldering job. A quality tip cleaner offers an efficient tinning and cleaning of extremely oxidized tips both in an effective and safe manner. It is commonly made with a combination of a cleaning agent, powdered solder, and flux.
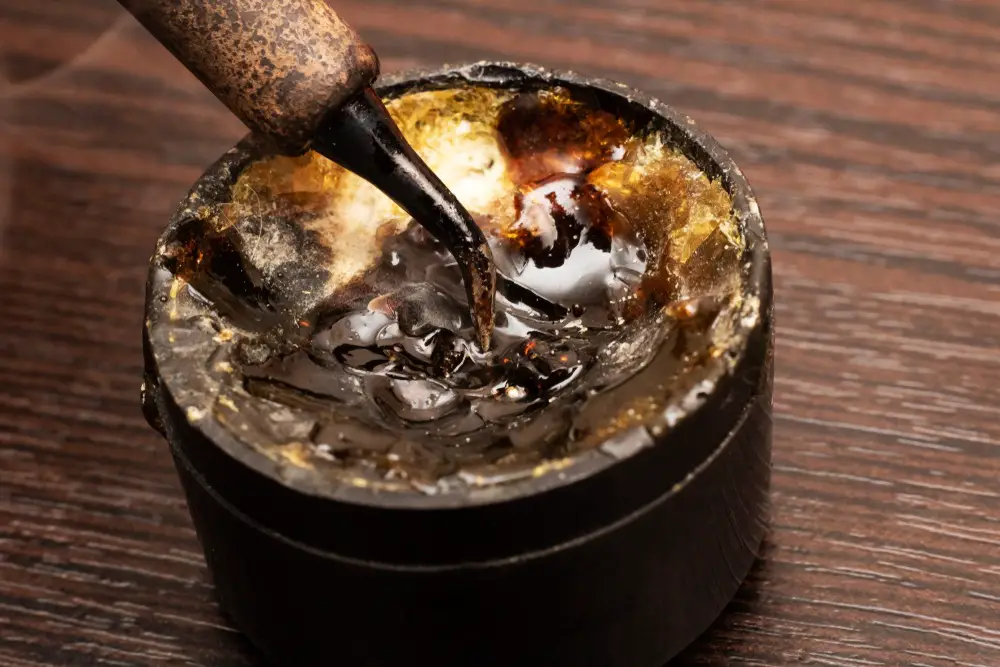
To start with, drip the tip into the chemical paste. The temperature setting you need to use is 350°C. Wait for five seconds at least. Though while waiting, turn the soldering iron tip left, and right to so the chemical past will be fully applied onto the tip.
Get a cleaning sponge to clear off the paste. A solder check may also come in handy for you to know whether or not the tip gets wet. If yes, then you’ve successfully cleaned the oxidized tip of your soldering iron. But if no, you can repeat the process until you achieve the desired result.
3. Tinning with a polishing bar
The last method we want to introduce for tinning the soldering iron tip is through the use of a polishing bar. Don’t fret because the entire process is just simple and straightforward. A polishing bar is what we call the polyurethane foam bar. It is embedded with abrasives.
Tool Recommendation: Check Out these Quality Butane Soldering Irons
To start tinning, just run the polishing bar onto the iron’s tip until you notice the shiny metal. That’s it! Pretty simple, right? There are several products available in the market, as the Plato AB-3 polishing bar. Polishing bars are also a perfect option for tips that are badly corroded or dirty.
Extra caution is needed when using it, though. Too abrasive could remove the plating on the copper soldering iron tips.
Just a little tip:
Always make it a habit to apply a small amount of solder at the iron’s tip once you’ve completed the soldering tasks before switching it off for storage. And, of course, don’t forget to wear your safety protection when tinning the tip. Mainly because various chemicals in solders are irritant to the eyes. Solder tends to pop or spit if you happen to hit an air pocket. So, never skip it!
How often should you tin the soldering iron?
It is ideal for tinning the tip of your soldering iron on a regular basis, even at rest or not in use. When using the tool for soldering materials, it is consistently in contact with new flux-cored solder. Even when the iron is standing unused, the tip could be depleted of flux and solder as a result of heat. Hence, it oxidizes and becomes unusable. Now, as you see, ensure to always tin your soldering iron to maintain its good condition.
Taking care of your soldering tools is very crucial, and this also includes tinning your soldering iron tip. Doing so will assure the tool’s long life and increased performance for any soldering job.
