
From electric vehicles, LEDs, solar cells to batteries, all use direct current. So, what is direct current?
Direct current is an electric current that flows towards one direction. Though all our electricity is powered by the alternate current, meaning current that is continually changing its flow periodically and this current can regularly reverse, direct current is very commonly used.
Direct current is much used in applications of low voltagelike in an automotive application, charging batteries, aircraft application, and also another low current, low voltage applications.
Merit of direct current
1. Direct current can be used in special applications.
When the alternating current transmission is not possible or feasible over very long distances, the direct current transmission comes into play. Examples of such special applications are high voltage sub-sea direct current transmission lines.
Demerit of direct current
One of the biggest disadvantages is the high cost of switching yards and building station terminals for direct current. A lot of maintenance is needed for the parts used in direct current, thus making them expensive and with limited or low capacity of overloading.
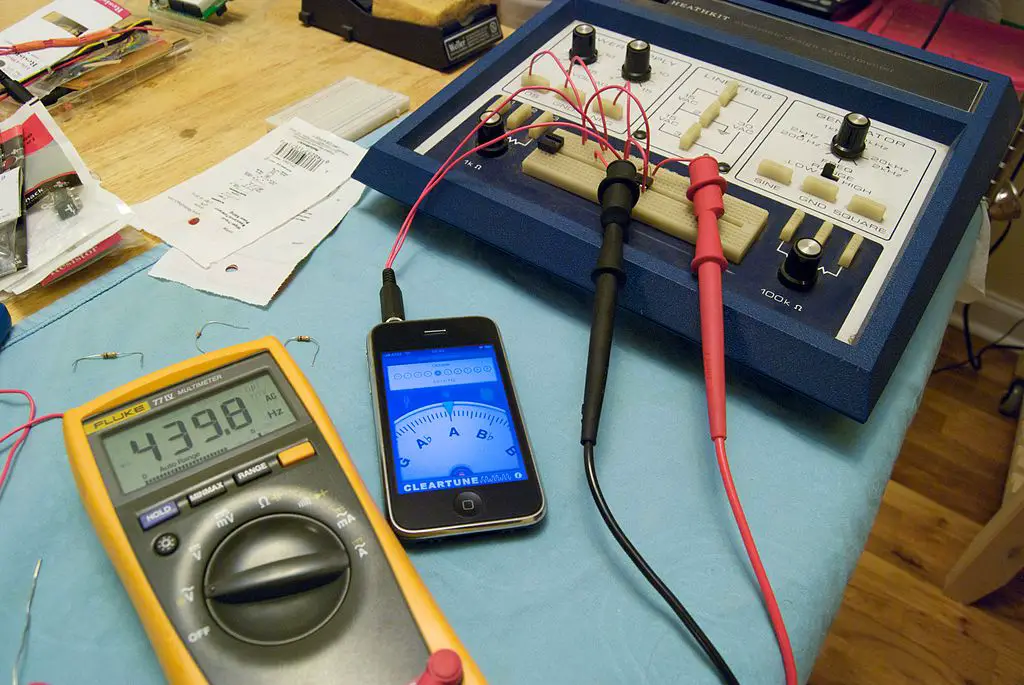
A multimeter will be an essential tool when troubleshooting or testing the direct current.
There are two types of multimeters, both the analog and digital multimeter.
The most preferred multimeter for measuring direct current is the digital multimeter.
Basics in current measurement using a multimeter
When using a multimeter in measuring current, some basic processes must be met. Below are some of these basics;
- To identify the levels of flowing current when using a multimeter, breaking into the circuit is the best way as it allows current to pass through your meter.
- To prevent your multimeter from interfering with the circuit operations when being used in measuring current, it is advised to have the resistance of your meter as low as possible.
How to measure direct current with an analogue multimeter
Though having small minor differences in the current measurement ways, the basic principles remain the same while using an analog multimeter to measure direct current. Below are the simple steps in using an analog multimeter.
- Since there are different connection which can be used, it is essential to insert probes into their right connections.
- The next step should be to set the switch to correct measurements, for example, to measure current and also the range of measurement that is to be made. In range selection, ensure that the maximum specific range chosen is above the anticipated. You can later reduce this range if necessary. Choosing a high range helps prevent your meter from being overloaded and other damages to the meter itself.
- It is important to optimize the meter’s range when taking your readings for an accurate reading. It is preferred if an adjustment is made to gain the maximum meter deflection
- After taking the reading, you are advised to place the probes of your multimeter into the sockets of voltage measurement and also turn the range to the maximum position of the voltage. This also helps prevent causing damage to the meter.
How to measure dc voltage with a digital multimeter
1. Turn your fluke digital multimeter’s dial to measure dc voltage. The fluke model digital multimeters include, “How to measure dc voltage with a digital multimeter.”
2. The next step involves first inserting the multimeter’s black probe to COM jack.
3. After that, the next step will be to insert your multimeter’s red probes to the V jack. After you are finished, you should remove multimeter’s probes in reverse order: the red probe first, then followed by the black probe.
4. Connect your test probes into the circuit: the black probe should go to the negative polarity test point while the red probe should go to the positive test point.
Note: fluke digital multimeter usually automatically detect/identify polarity. When you measure the dc voltage, it is not a must for the multimeter’s black lead to be in contact with the negative terminal or the red lead to touch positive. It is important to know that if the multimeter’s probes touch the opposite terminals, then a negative symbol appears in the multimeter’s display.
5. the next step will be to read the measurement in your multimeters display.
6. A fluke multimeter’s defaults to Auto range depending on which function you have selected on your multimeter’s dial. Next, you need to disconnect the multimeter’s test probes. Then Change your digital multimeter’s dial setting to read [mV dc symbol]. After that, you then reconnect the multimeter’s test probes to read the measurement.
7. To capture/get stable measurement, you need to press the HOLD button. This can be viewed when the measurement has been completed.
8. To get the highest and lowest measurements, you need to Press the MIN/MAX button. Your digital multimeter will beep every time you record.
9. After that, you then Press the delta (?) or relative (REL) button to set your digital multimeter to specific value reference. Measurements that are below and above the value reference are normally displayed
Measuring Resistance
Selecting the Resistance Range (Ohms – Ω)
To measure the resistance, using a fluke digital multimeter, you need to turn the multimeter’s dial to ohm marking. If you measure the voltage on any auto-ranging multimeter, then only one dial setting will be available.
On any multimeter which is not auto-ranging, then only the numbers of ranges marked different will be available on the multimeter. If there is an unknown approximate resistance you want to measure, then you should always start by measuring the biggest range, for example, 20M. If there is a small value measured, then you can turn down your dial to a lower range.
Precaution
You should never measure the resistance when the circuit is a live example, a circuit whose power is switched on.
Resistance Measurement
You should apply tips of your digital multimeter’s probes across all the resistance you want to measure. Then you should start reading the resistance value displayed in your digital multimeter.