
Everyone loves taking a break from the hectic work life every once in a while. Therefore, if you are planning to take a vacation, you then need to bring along a couple of friends so that you can have a more memorable experience. Typically, this might also mean taking your car amplifier with you so as to listen to some entertaining music while out on the road.
However, what should you do in the event your car amplifier starts having an issue, thereby limiting your fun? Well, that means you need to make use of a multimeter to test whether your car amplifier is still functioning.
Therefore, in this article, you will be taken through the steps you need to follow when testing your car amplifier using a multimeter, with this usually the easiest and quickest way of testing your amplifier.
When most electric devices have problems, a multimeter is used to troubleshoot most of these frustrating problems. Furthermore, it is known for measuring electronic circuit and resistance as well as current for examining appropriate functioning level.
Types of multimeters
There are two types of multimeters; these are; analog as well as digital multimeter, but the digital multimeter is preferable as it provides you with more accurate readings.
Therefore, before testing a car amplifier with a multimeter, you need to have knowledge of how to make use of it. Consequently, you will be in a better position to run a test on the car amplifier with your multimeter, without experiencing any of the challenges that some people often complain about.
Here are the steps you need to follow to best diagnose whether or not your vehicle’s amplifier is working using a multimeter. Once you do the test, you will be in a position to know whether the amplifier needs to either be replaced or repaired.
Have your multimeter with you
To run a test on your amplifier, you have a high-quality personal multimeter as this will help you obtain accurate results, thereby get to enjoy using the car amplifier. You can find the best multimeter from a reliable vendor.
Correctly configure your multimeter
Before you run tests on your amplifier, you need to rate your meter first in amperes to know the number passes through the circuit regularly. Usually, the circuit contains a nameplate approximation where the maximum amperes are stated as well as on the multimeter.
You should always be accurate and never exceed the amperes displayed on the multimeter. To ensure this is possible, properly configure your multimeter as this ensures you get the correct results.
It is crucial that you note a multimeter usually comes with two sections, namely, voltage alternating current (VAC), which is responsible for examining appliances running from your house source and voltage direct current (VDC). So, when you are testing for your car amplifier, set it at VDC mode since it operates on direct current.
Subsequently, set the wires mentioned earlier as black and red, with the black wire being the negative terminal, and also known as the ground wire, whereas the red one is referred to as the amperage wire.
Additionally, plug in the red wire in a socket with a label A, while the black wire in the primary circuit. After that, rotate the central dial on your multimeter to your desired amperage settings.
Test your amplifier
Once you are done running a configuration test on your multimeter, you can then use it to test your amplifier. The steps to follow are;
Step 1: Find the amplifier
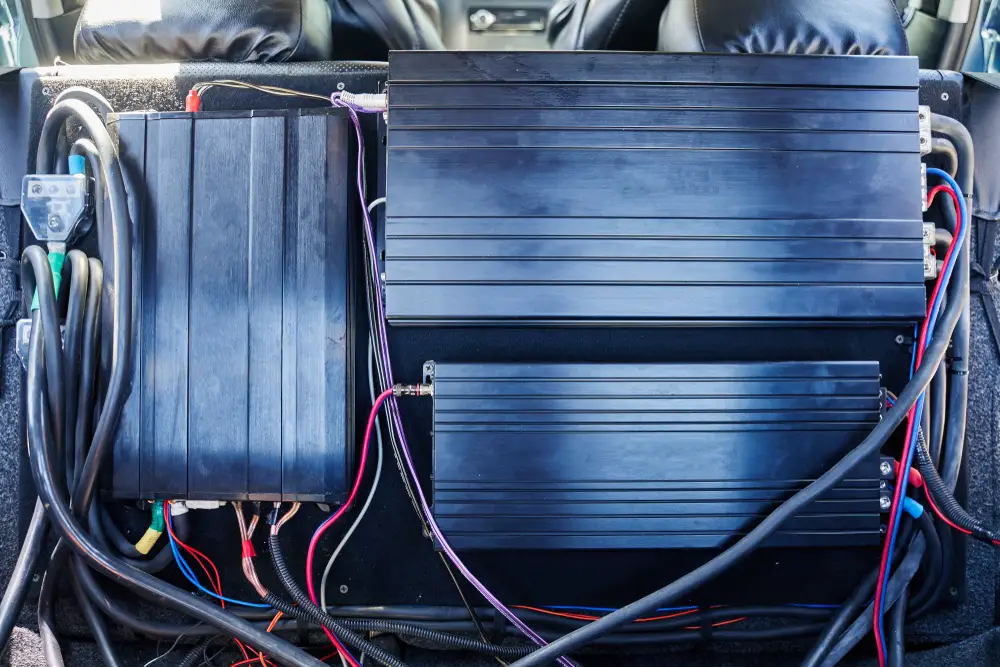
Locate the amplifier in your car. The position of the car amplifier varies depending on the car company as well as the model of your vehicle. However, the amplifier is typically located on the dashboard or behind the seats, and if you are having trouble finding it, take a look at the manufacturer manual to know its exact location.
Step 2: Look at the fuse
Examine the fuse of your vehicle amplifier for energy. You can do this by testing the voltage of the fuse meant for your car’s amplifier.
Step 3: Check the protection mode
Examine the protection mode of your amplifier. Since your amplifier has a protection mode, it sometimes activates it to prevent it from experiencing further damage, which may be caused by poor wire connection, inappropriate installation, or the amplifier failing to function internally.
Step 4: Check output
Examine the output by plugging the multimeter wire on the output canal as you observe the reading on your multimeter. In case it shows no reading, you should then consider the output to be already destroyed and your speakers to have been electrocuted.
Step 5: Check for instability
Observe signals on your amplifier for any instability because the presence of this will most likely lead to distortion.
Step 6: Use the multimeter
Attach your amplifier to the multimeter as you observe its voltage. If it shows a display of below 10 volts, this can be detrimental to your amplifier; hence it requires the attention of the expert.
If you have recognized the problem with your amplifier, you are required to do a fixation to enable it to work correctly. Nevertheless, it would be best if you took precautions when using a multimeter and these measures include;
- Do not use resistance to examine power on your amplifier since this can damage your multimeter.
- Never use a digital multimeter with damaged wires.
- Make sure you protect your fingers on the finger guards located on the test probes.
- Run the test on your amplifier with a multimeter correctly to obtain accurate results.
Conclusion
Having read through this article, you now have an idea of how to test a car amplifier with a multimeter. Therefore, if you ever find yourself in a situation where you need to get this done, you need not worry as this procedure is straightforward, as explained above.
Consequently, you will be able to know whether the car amplifier needs to be repaired or replaced altogether. Moreover, you also have learned about some vital safety measures that you always need to put in place when testing your vehicle’s amplifier to prevent any injury or further damage to the amplifier. Eventually, you will get to enjoy your amplifier, and this vital if you are into taking road trips with family or friends in your car.
