
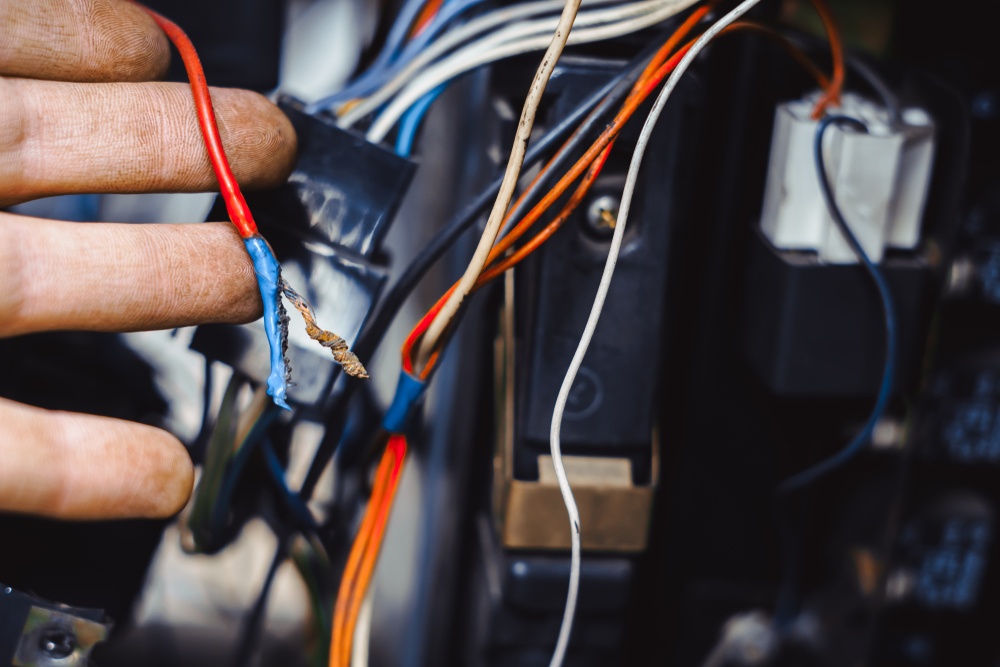
When your car has a broken wire, it will most likely stop to functioning correctly, and this does not only interfere with the vehicle but also other appliances more so when the vehicle is in motion. Moreover, broken wires usually interfere with the flow of electrical energy, and given that it is separated from another portion of wire it is attached to, this is prone to cause permanent damage since there will be interference with continuity.
Wires can break if they have aged or they have undergone a short. Additionally, they can also break due to corrosion, dry rot, as well as small creatures such as rats chewing on the wires hence causing them to break.
With a damaged wire, the circuit is usually rendered useless. Fortunately, if the wire seems to have a problem, you can then make use of a digital multimeter to easily and quickly examine whatever the problem might be. Tracing a wire with a multimeter is very simple, and all you need to do is to acquire necessary skills as well as knowledge on how to handle electrical devices, and you are good to go. Furthermore, take into consideration the safety measures by exercising them effectively.
Tools required for tracing a wire:
- Digital multimeter
- Small-sized mirror
- Wrench
- Flashlight
Once you have the tools in place, there are several procedures you need to follow to trace a wire, especially if it is damaged and it is hidden in your insulator. Therefore, read through this article and learn of the steps you need to follow when tracing a wire using a multimeter.
Step 1 – Switch of your car
Make sure you disconnect your car from its energy source where the wire you want to test is drawing its energy. To find out what the problem is precisely. To do this, you will need a wrench which will help you in removing the battery’s’ cable.\
Moreover, make sure you also disconnect the electrical device that you want to run a test on from the voltage supply source.
Step 2 – Examine the connections properly
This applies at each end of the wire you are examining that is if they are easily reached. However, you are supposed to a little bit pull the wire at the connection point for assurance that is firmly attached. After that, find out the length of the wires you want to test keenly and see whether there are any damages near your insulation wires.
If you have no chance of reaching some of the points, you then need to make use of a flashlight and a small-sized mirror. In case you notice any evident sign at the insulation that there is an issue that needs to be addressed, such as traces of black spots, this is a sign of overheating which might have resulted in your wire at the insulation to break and fail to function.
Step 3 – Trace the wire
Locate where tour wire connector is probably placed and have it removed. This will enable you to examine the damage properly. Afterwards, take your multimeter set it on ohms to test continuity. When you are finally done, switch on your meter; place one of the probes on one of your metal terminals that attach your wires to your connector.
On the other hand, the place the remaining probe to any part of your wire that is visible. Shake your wires to examine in case there is any improper connection as you observe the probes you have placed on your terminals. The reading displayed on you multimeter screen should indicate a resistance of zero. If it shows another figure for resistance, then consider the improper placement of your wires on your terminal.
Do the test at the end of your wires too. You are required to connect your multimeter probes on both ends of your wires. For your wires to remain hooked make good use of alligator clips on your probes, move your wires with keenness at several points. In case there is any kind of breakage on your wires, you are likely to get an inaccurate figure for resistance displayed on your meter screen.
Once you locate where the wire has broken, plug a pin of about 2-3 inches away from where the wire has a breakage. Have your meter probes placed on the pins as you shake the wire where there is damage. Place the other pin on the remaining side of your wire where you doubt there is a breakage. After your pins are set, place your multimeter probes as you wiggle your wires at that particular point you suspect there is a breakage. This will enable you to find the break in your wire that is only is the reading value displayed gives an infinite resistance.
However, sometimes it might be difficult for you to access both ends of the wire; in this case, you might opt to use jumper wire around a single end of your wire as well as on a single probe. Either way, you can also place the jumper wire to your chassis ground and have your meter probe connected on it and the other remaining wire to the end of your wire to examine for continuity.
Whenever you are working with pins over the wire insulation, ensure you cover the spots which are open using electrical tape. This is to prevent moisture from reaching your wires as this could likely cause electrocution, and we all know, prevention is better than cure.
Conclusion
After reading through this article, you now know that tracing a wire using a multimeter is without a doubt a simple process. To do this, all you need are a handful of tools, and you are ready to go.
Usually, for any electrical device to function correctly, it needs the proper functioning of its wires, which can only happen if there is no breakage. Therefore, thanks to this test, you are in a position to identify any spots where there your wire might have broken thereby able to do the necessary repair to ensure everything is restored to normal.