
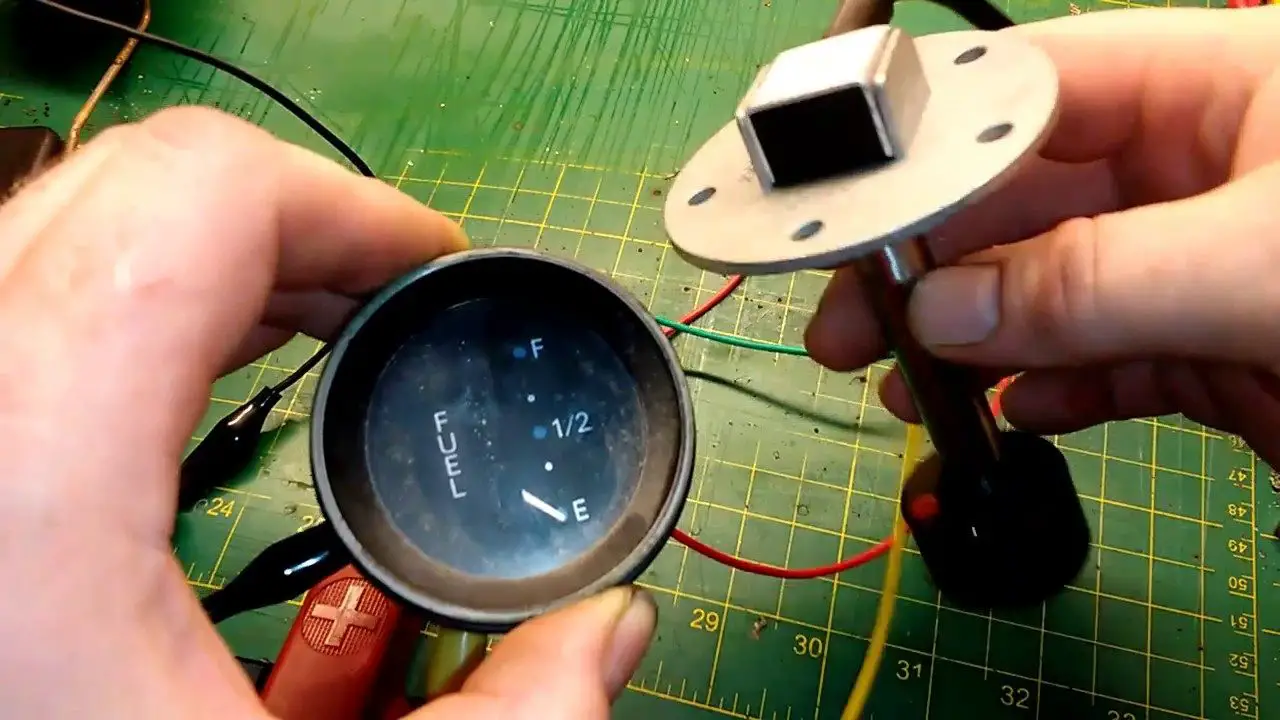
A fuel gauge is an instrumental device used in a vehicle to indicate its fuel level. A fuel gauge has two sections, which include the indicator and the sending unit. The sending unit uses a potentiometer with a printed ink design, connected to afloat. The float moves according to resistance.
Meanwhile, on the dashboard, an indicator is mounted to display and measure the quantity of electric current moving through a sending unit. The two groups work together to ensure that when the current is flowing at its maximum rate, the letter is pointed by the needle to indicate a full tank.
Similarly, the needle moves to E when the current is flowing at its lowest to suggest that the tank is empty.
More often than not, our car’s or boat’s fuel gauge fails, and it is unable to indicate the fuel level correctly. A faulty fuel gain is as a result of corrosion of the potentiometer, poorly connected or disconnected wires and a non-functional sending unit.
However, if an individual suspects a malfunction in their fuel gauge, they can quickly test its functionality using a multimeter. A multimeter is the most suitable device to use because it accurately measures current, voltage, and resistance. Explained below are three simple procedures you can use to test a fuel gauge using a multimeter.
Procedure 1
Step 1:
The first thing you are required is to determine the problem with your fuel gauge. The fault could be at the indicator or sending unit. Using your multimeter, check to see if the fuel gauge is receiving 12 volts of power. With the engine ignition on, probe using a multimeter between the positive terminal and the ground.
Probing should be done at the back of the measure where there is an ‘I’ or a plus sign. If there is zero voltage, the ignition circuit is faulty. On the other hand, if the voltage is 12, either the wiring or the gauge is faulty, or its sender has a problem. Move on to the next step to find out exactly where the problem is.
Step 2:
Disconnect the wire, which is sending current, while power is still running into the gauge. In a functional fuel gauge, disconnection prompts the gauge recording the highest reading.
If your reading is at its highest, your fuel gauge is functioning well. If reading is lower than the highest recorded reading, your fuel gauge should be changed as it is faulty.
Procedure 2
Step 1:
Pass a screwdriver through to the ground pin from the sending pin, using a long jump wire. In case your gauge does not have a ground pin, jump the engine block from the sending pin. Once the procedure is complete, the gauge should indicate its lowest reading. A record of the lowest reading shows that the indicator is working correctly. If the index indicates a higher reading, it is faulty, and you should replace it.
Step 2:
All the components of this system are checked as they are vital to the functionality of the fuel gauge. Disconnect every wire running to the sender and from the ‘S’ pin at the back of your fuel gauge. Ensure your multimeter is appropriately set to the Ohms scale and check its resistance with the wires.
If the reading in Ohms is zero or close to zero, your sender has a problem, but there is a proper completion of your circuit. For a fuel gauge to complete and function thoroughly, the resistance in the sender’s rheostat needs to match the gauge.
Procedure 3
Step 1:
First, ground wire from the contact stud to the chassis. If the pointer moves to the E sign, the sender is faulty, and there is poor grounding. If the gauge reads its highest, ground wire to the red tag. If the gauge still reads E, the cable from the sending unit to the dash is broken.
It is possible that wires connecting the fuel gauge to the dash could be broken. In this case, the fuel gauge is repaired, or the wires replaced.
Step 2:
Connect the multimeter to the sending unit when the sender disconnects from the tank. Make sure that one end of the lead is at the housing while the other is at the stud. While manually moving the pointer anticlockwise, check the resistance of the gauge. The strength should be ranging between 30-0 Ohms if the gauge is working correctly.
Notably, all these tests involve using a multimeter to test for resistance and current running through the sending unit and indicator, respectively. In case you are wondering how to check these two factors using a multimeter, below is a simple process.
Measuring resistance on a fuel gauge
- Select resistance, labeled kΩ on your multitester.
- If your multimeter is analog, calibrate it.
- Place the probes on the sending unit as required.
- Record the reading displayed on the meter in Ohms.
- If the meter indicates “OL,” there is either a loop or overload.
Measuring current on a fuel gauge
- Carefully drive in the probes to make a correct connection.
- Set the selector to “current” measurement.
- Make sure the expected reading is slightly below the maximum range.
- Ensure the range will be constantly optimized for the best reading.
- Record your current reading.
Current can also be measured by merely breaking the wire’s circuit and connecting the multitester to the circuit. This is, however, not an advisable way to test for current as it may give inaccurate results. it is always advisable to follow the right procedures.
To Wrap Up…
It is easy to notice a faulty fuel gauge. However, it can be quite frustrating to drive a vehicle with non- functional gauge. It is equally stressful to try and discover the problem with your gauge. With the simple procedures explained above and if you own a multimeter, you can test your indicator, wires, and sending unit effectively. The process will also help you use the multimeter with ease and get accurate results.
