
Most homes have 220- volt electrical outlet for heavy-duty electrical devices, the likes of the refrigerator, dryers, and window unit air conditioners. Therefore, if your dryer, for instance, is not getting your clothes dry, this could most likely mean that it is not getting a sufficient amount of power to perform the task. Because of this, you will be forced to spend so much extra money on your monthly bills of electricity than you would have expected.
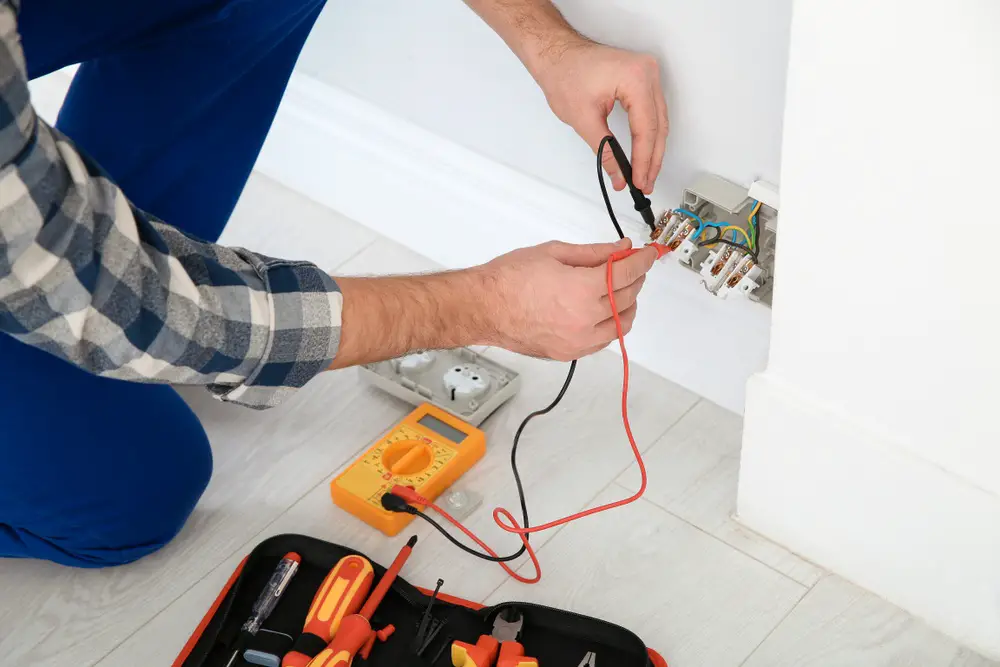
So, how do you know the exact issue with your equipment? Well, for you to find out, you need to have a multimeter, which is one of the best tools used to run tests on 220v outlets to examine whether they have a dead outlet as well as to detect any other electrical challenge.
So, what does a multimeter determine?
The reading value displayed on your multimeter screen plays a very vital role, such as:
- It will help you to identify whether your outlet is correctly grounded.
- Through the use of a multimeter, you will be able to know whether the connection of wires is poor or your wires are in a damaged shape.
- It also determines whether the flow of power is successfully reaching the outlet or not.
What does that mean?
This simply means before the installation of a brand new dryer or any other electrical device; you first need to make sure you run a test on the 220v outlet. This is important to verify that it is without a doubt functioning effectively and generating the required voltage for safer and proper operation. Moreover, the multimeter displays an accurate reading value of the voltage in your outlet.
You should also know that heavy-duty electrical devices usually require between 220 to 240 voltage for them to run effectively. However, if you plug in this equipment into an outlet without first confirming whether it is functioning, you are then likely to cause it further damage. Additionally, you can cause damage to the electrical circuit because the voltage is incorrect and cannot withstand the amount of power flowing in it.
Steps for runnning a test on your 220v outlet using a multimeter.
- Exercise safety measures while running this particular test because you will be performing this test on a live outlet. Therefore, you have to make sure that you hold both your multimeter probes in one hand, and by doing this, you will safeguard yourself from the possibility of getting electrocuted. Also, you should never allow the metal pieces of your probes to get attached, as this could lead to it causing a hazard short circuit.
- Get to understand your outlet geography. You must take note that an outlet contains three slots, one is neutral, one is hot, and finally, the other one is for the ground. The ground wire has a ground ½ circle, the neutral one has a longer slot on the left, and hot is known through the short slot on the right.
- Ensure that you find the exact location of the circuit breaker for 220v outlet in the major circuit panel, and this is usually found in the utility room. On the door of your panel is a label of your circuit breaker; hence the 220v outlet is prone to being a maximum two-pole breaker.
- Switch on the energy on your multimeter and set it to measure voltage. Subsequently, switch the multimeter’s selector knob on your AC side and choose the approximately known voltage settings to match the outlet voltage. The figure you choose ideally be between 220 to 240 VAC, so you should choose your alternating current in symbols (AC) to work on your meter. The wave line usually represents this while the direct current, in symbols (DC) function has a dashed and solid line.
- Plug your two tester lead into your multimeter. In the negative blackjack, which has a minus sign, insert the black lead while in the red positive with a plus sign insert the red lead. These jacks are colored for easy identification and ensuring the correct connections are made.
- Plug your two test leads into your two slots of the outlet. In case you have an outlet that is three-prolong, your two slots will probably be slanted, and as for 4-prolong outlet, the well- known two hot slots will have two outside slots that are vertical. Once correctly plugged in, your voltage reading value should be between 220-240 volts.
- Plug in the black test lead into a neutral slot and your red test lead in the hot slot. This also applies to 3 and 4 prolong outlets; neutral prolong is usually L-shaped. Consequently, read the value being displayed, and it needs to be between 110 to 120 volts. After that, place the red test lead to the slot that is hot, and the black test lead into the one that is neutral, the reading value displayed needs to be between 110 to 120 volts. Once you are done, remember to remove your test leads from your outlet and switch off your multimeter.
- After running the text on your 220V outlet properly using the multimeter and obtaining significant results that give you a go ahead, it is appropriate that your plugin your dryer cord into your outlet, as it is now ready to start functioning effectively. In case the readings do not match the required volts, do not attempt to plug in your dryer since you are likely to experience electrocution.
Conclusion
If you were looking to learn how to test a 220v outlet using a multimeter, reading through this article has provided you with all the essential insight that you need. Therefore, you can successfully carry out this test, and all you need is the right knowledge as well as the appropriate skills to do this.
Thanks to the steps as mentioned above, you now have a guide to help you through the entire period of testing, thereby allowing you to get accurate readings that match your outlet values. In case you find it challenging, you should refer to your manual script or consult an expert to help you out.
