
A multimeter is a device that measures current, voltage, and resistance in an electric device. It is also known as a multitester or a VOM (Volt-ohm-milliammeter). There are two types of multitesters. Analog ones, which use a moving microammeter to display readings and digital ones, which use numeric and graphical representations.
Digital multimeters are the most preferred as they have high accuracy and lower costs. Cen-Tech is a manufacturer that produces several digital multimeters that can measure both AC (Alternating Current) and DC (Direct Current).
The manufacturer is among the best in the world, well known for its versatile 7 digital multimeters, which provide accurate measurement for a variety of electronics. If you know how to use the seven-function model- 98025, you can easily use all other Cen Tech VOMs. Below are simple steps on how you can use their multimeters.
Preparing the multitester for use
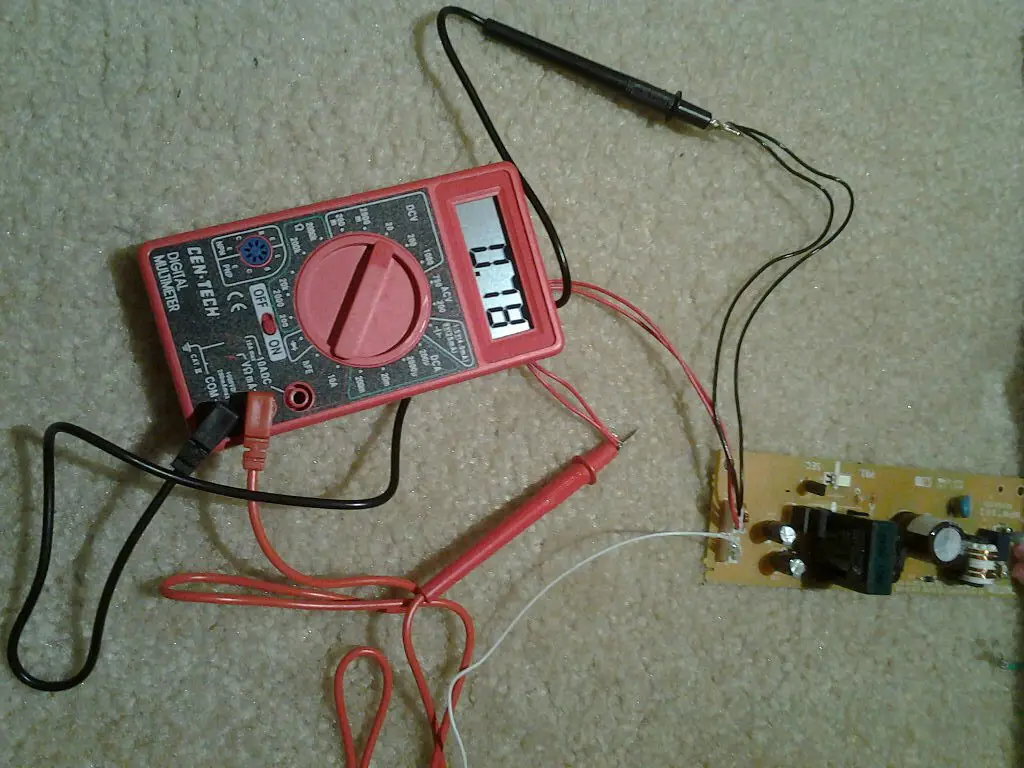
Every VOM has a wheel at the front that is used to select the function. Rotate this wheel to set the sensitivity and the measurement. There are three jack ports arranged vertically on the right side of the device, at the bottom. They are labeled in the following manner from below to the top; COM, OHMs, and 10ADC.
There are a pair of leads that come with the multimeter, to fit into these jacks. One is usually red, and the other black. It also comes with multipin studs to test the transistors. Finally, there is the on/off button that is used to activate the LED display. Each function of the VOM has its particular setting.
1. Measuring resistance and continuity
There should be no other source of current when measuring resistance because the unit always supplies a small current. When beginning measurement, the meter should be reading 0. Insert the red lead into the VΩMa jack and the black lead into the COM. The multitester is now ready to turn on. The selector in the ohm (Ω) area is moved to the position of reading 200.
Before making any measurement, ensure the reading is 0, and the leads are not touching. This procedure portrays that there is no resistance between the leads. Note down the readings when the naked circuit wires reach the leads. If your reading is 1, the dial is supposed to be turned one position clockwise, severally.
Keep turning the dial, if necessary, up to 2000k till you get another reading other than 1.
Since the dial turns several times, use this last step of the resistance test for the continuity test. Use the following 5 step procedure to go about it.
- Skillfully place the dial at 2000k in the Ω
- Ensure meter reads 0
- Place the leads into their appropriate jacks as explained above
- Turn on the VOM
- Ensure there is no resistance according to the readings after the dial turns.
When the reading on your device is 1, this means your circuit is open. However, if the device portrays another reading, the circuit is closed.
2. How to measure voltage and current
To test AC voltage, go to that particular section on the VOM and turn the selector to the 750 mark. In the jack marked the VΩMa, insert the red lead and in the COM section, plug in the black lead. Touch the exposed wires of the circuit to the leads to test.
Note down the reading. Your reading should be accurate if it is more than 250. However, if it is at 250 or less, turn the selector to 250 to get a more concise reading.
To measure DC voltage, leave both the red and black leads in their initial jacks. Move the dial to 1000, counterclockwise. Record the reading after touching the exposed wires on the circuit to the leads. In this case, a reading of less than 20 should be the most inaccurate. However, if you acquire a reading of less than 200, move the dial to that reading as much as required, to get more accurate.
To test for current, leave the black lead in the COM jack and switch the 10 ADC jack to accommodate the red lead. Rotate to the dial 10A direction, with the meter on.
Touch the naked circuit wires to the leads and note the reading down. When the reading goes below 0.2A, switch off the meter, and return the black lead to the VΩMa jack. Rotate the dial 220M to 220µ counterclockwise if necessary for more accurate readings.
3. Testing voltage across transistors, diodes and batteries.
Using this multimeter, you can test AAA, AA D-cell, 9V, and C-cell batteries. Turn the dial to the right side of the AC voltage section and insert the red and black leads in the VΩMa and COM, respectively. Turn on the meter after that. Touch the red lead against the positive terminal and the black one against the negative terminal and record the reading.
To test the drop in voltage across a diode, first, place the dial to the ohm diode section. Put the black lead in the COM jack and the red lead in the VΩMa. Touch both leads against both terminals of the diode and record the reading obtained in millivolts.
Reverse the leads and repeat the process, if it reads 1.
The Hfe setting is used to test transistors. Use the NPN or PNP jack to plug in the transistor, then turn on the meter. Use the manual for that particular transistor to compare the readings acquired against its specifications.
4. Measuring incandescent light bulbs and outlets
For a household outlet, place the probes into the right slots and choose a volt of 200. If the reading is less than 120, the outlet has a problem. For light bulbs, firstly test for continuity and resistance. Connect a screw thread to the end of the bulb. If the resistance is infinite, the bulb is faulty.
Extra Info…
For essential fieldwork and fault finding, it is advisable to use a handheld VOM while for primary field services, you should use a bench instrument with high accuracy. All multimeters can measure resistance, voltage, and current. However, CEN-Tech manufactures the most accurate and efficient VOM in the 21st-century market.
